Adding Stock Design Templates (Optional)
Step 1: Open the Design Window
On the top of the Design Studio, toward the left side (third option), click Add Design. The Select Type of Design window will appear.

Step 2: Choose the Type of Design
You will see two options: Add Embroidery Design and Add Printing Design. Not all items allow both options. If an option is unavailable, it will be grayed out and display a note.

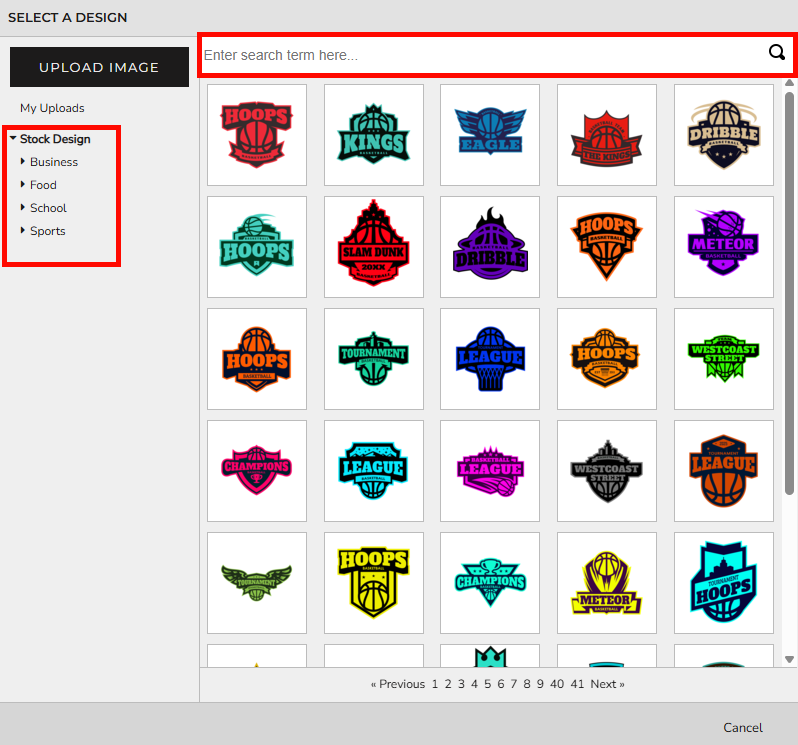
Step 3: Browse the Templates / Select Template
Browse through the available templates organized by categories, or use the search bar. Once you find a design template you like, click it. A small window will open showing the stock design image and its details. Click Select Design to proceed, or Cancel to continue browsing.

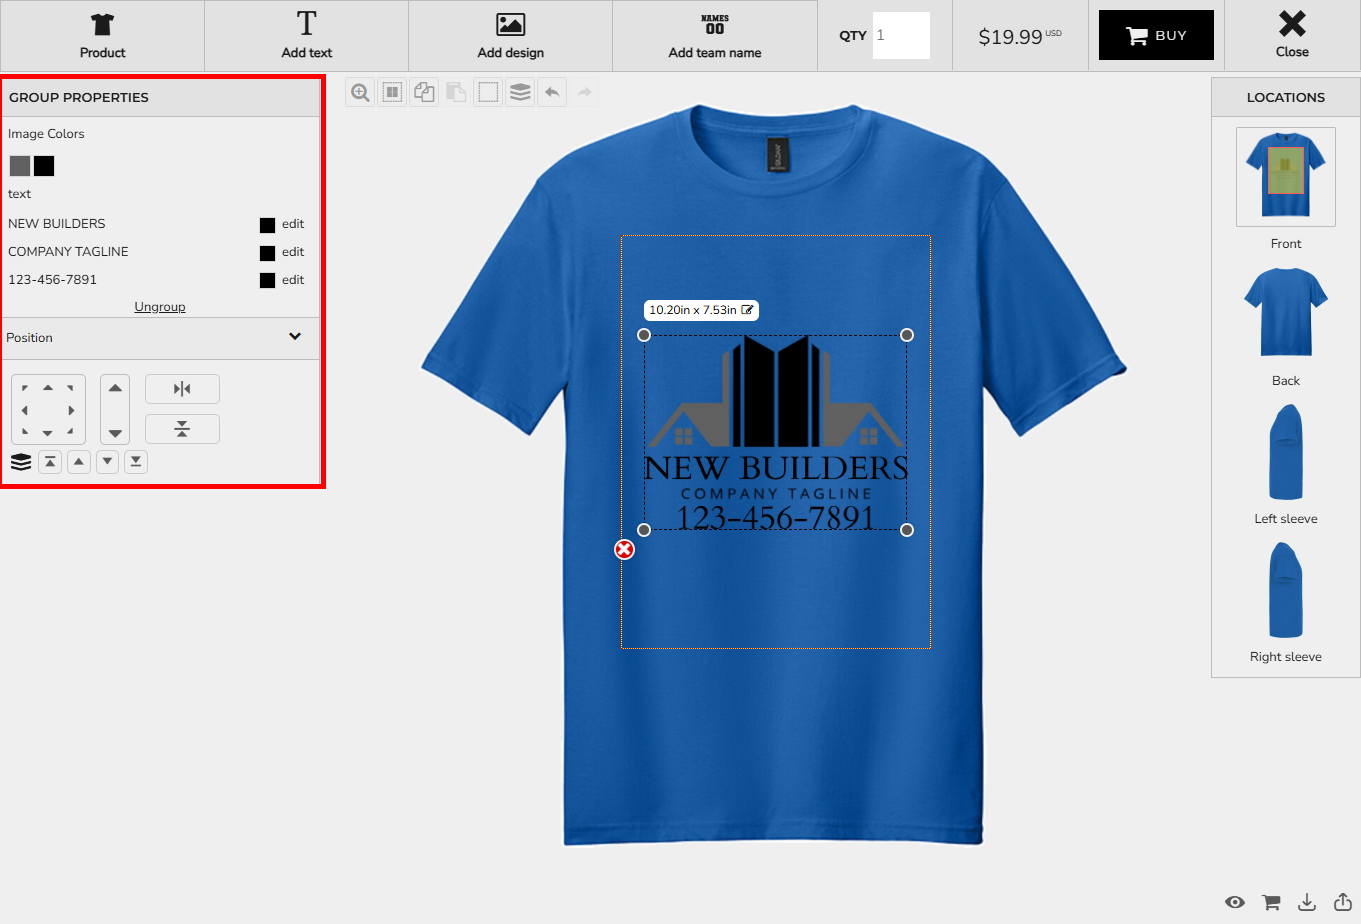
Step 4: Customize the Template
Some templates have editable text where you can input the company name, tagline, phone number, or other text. On the right-hand side of the Design Studio, you will see Group Properties where you can edit image colors and text.
Below that is the Ungroup option to separate parts of the template. Below that is the Position section to move the template group, center horizontally/vertically, adjust layer order, or resize.
Notes: Adding stock designs is optional. Some templates may have limited customization options. You can combine multiple stock designs with your own text or uploaded images.